I don’t make many sweets and treats but the few times I do includes Valentine’s Day! It’s always fun to bring treats to share at school or work on Valentine’s Day, so I made these adorable cake balls / cake truffles for MP’s students. Read ahead for some tips/tricks!

What’ You’ll Need
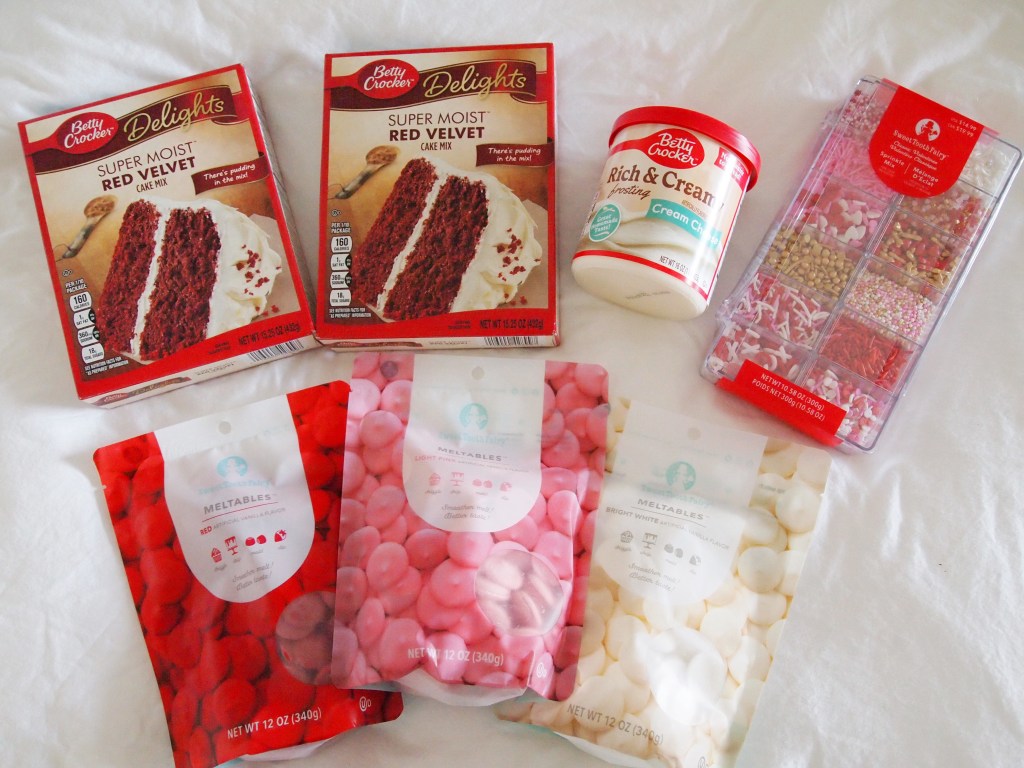
+ 1-2 Boxes of any Red Velvet Cake Mix (I used 2 boxes since he has a lot of students)
+ 1 Cream Cheese Frosting (you’ll need no more than 1, even if you use 2 boxes of cake mix)
+ Variety of Candy or Chocolate Melts (I bought 3 bags because I wanted red / pink / white, but you wouldn’t need more than 2 bags if you want to save on costs)
+ Sprinkles! I got this cute V-day mix
Fun fact, a Mormon owns the company that makes the melts and sprinkles that I bought LOL.
~Pro Tips:
+ Oil (to thin out the melts. just use any kind of oil you have on hand — I usually prefer coconut oil for the taste but I didn’t have any at the moment so I just used olive and vegetable oil)
+ Toothpicks (to help with dipping the cake balls)
+ Paper bowls (to melt the candy melts in. I used regular bowls since I was taking pictures for the blog, but I highly recommend using paper bowls because 1) it’s easier for clean-up and 2) I really don’t think the melts are good for your sink)
+ Annnnnd ample fridge/freezer space to chill the cake balls 🙂
How-To:

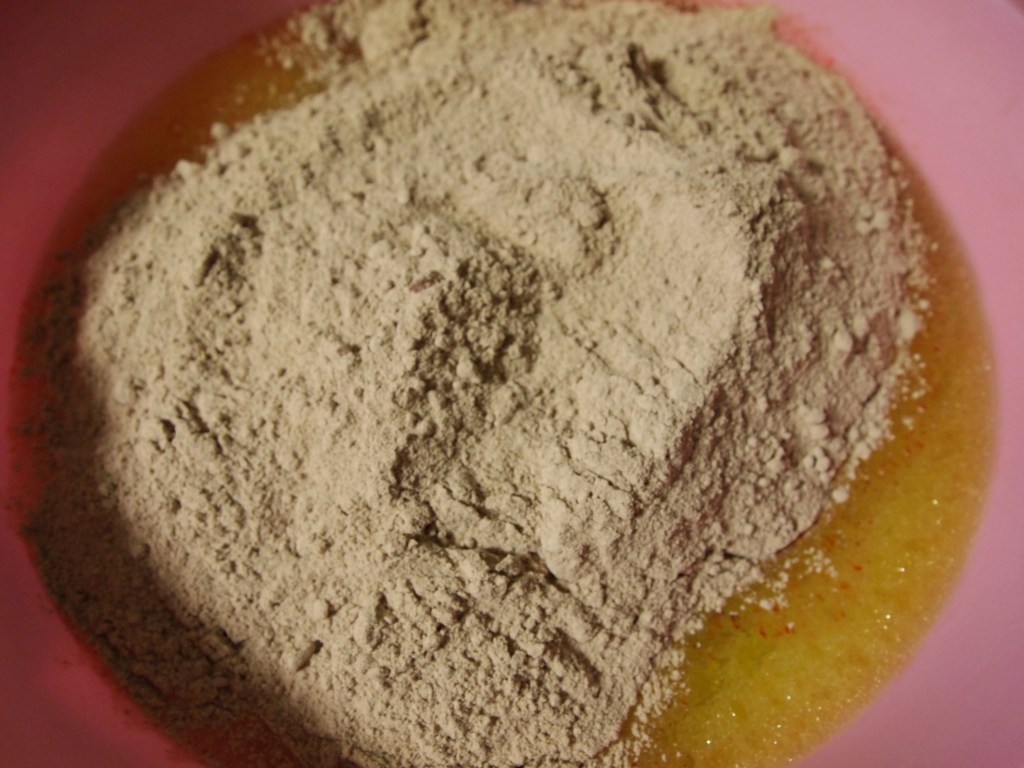

Prepare the cake mixes according to the instructions, using whatever size baking pans you have. Use parchment paper if you have any, for clean-up, but the cakes don’t need to be perfect since you’re just going to crumble them up anyway!
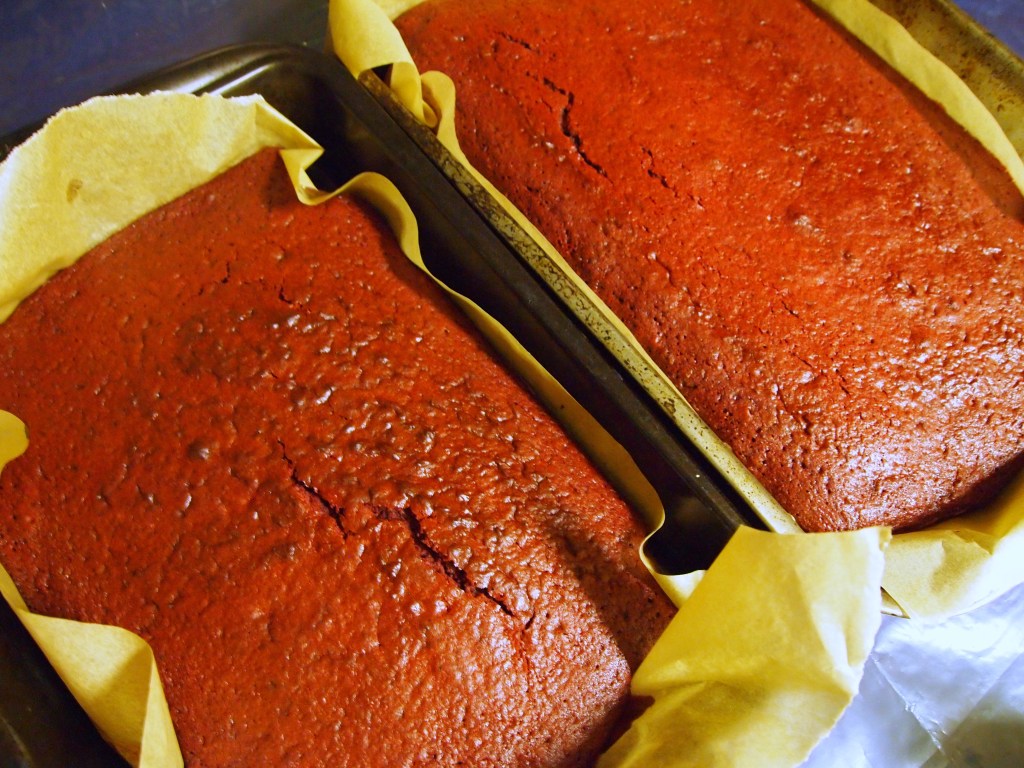
After baking, I chilled the cakes in the fridge overnight so I didn’t have to handle hot cake with my hands.


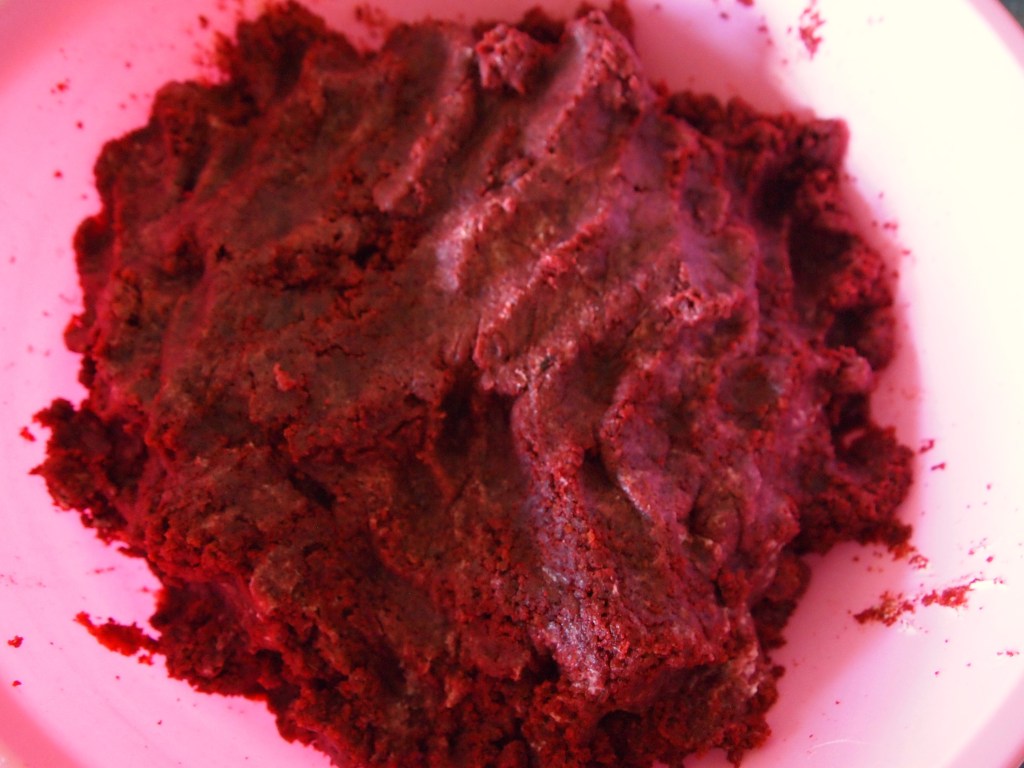
And then, the best part — using your hands to crumble up the cake and mix in the frosting! There’s no method to the madness, just get in there with your hands and make sure the frosting is well-incorporated.


To make the balls, I’m sure other people have better techniques, but I just grab some cake and SQUEEZE it in my hands and then roll it the cups of my palms to form a ball. Don’t worry about squeezing them too hard or them becoming dense, it’ll still taste good and it helps with forming balls that don’t fall apart.
Pop these cake balls into the freezer for at least an hour. This will really help the cake balls to not crumble when you’re rolling them around in the chocolate and it will help the chocolate to flash-freeze against the balls (kind of like magic shell chocolate).

When you’re ready to decorate the balls, melt your candy/chocolates of choice. I just use the microwave but note that chocolate DOES burn so be sure to microwave in short increments of ~30 seconds or so (and mix in between each nuke). Then, stir in some oil (the more you put in, the thinner the batter will be and easier to work with, but just be careful not to make it too thin).
Grab one cake ball and put it into the melted chocolate, roll it around, and then stick it with a toothpick to pick it up. Let the excess chocolate drain off, then shimmy the cake ball off the toothpick and onto some parchment paper. Quickly add the sprinkles to the ball before the chocolate hardens. If the toothpick left a sizeable hole, you can cover it with a sprinkle or grab a little bit of the melted chocolate with a toothpick and touch up the hole.
Repeat for each ball and remicrowave the melts whenever the chocolate starts to stiffen.
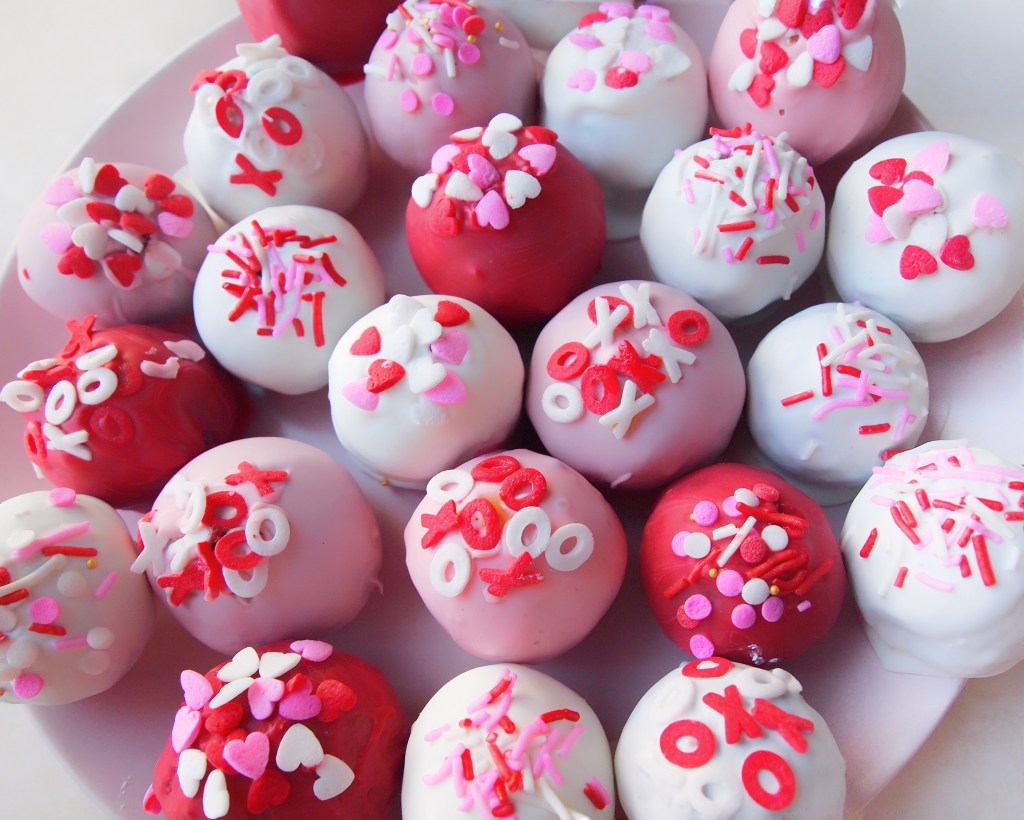

Many cake balls later, here is the finished product!!! It’s definitely a tedious process since you have to make each individual ball and work one by one, a labor of love, but they are so cute and taste so yummy! And personally, they’re the perfect portion! They’re tiny but so satisfying.
If you have any leftover melts, I recommend buying some strawberries and making chocolate covered strawberries! I hope this will inspire you to make some yummy treats and hope you all have a lovely Valentine’s Day!
Xo,
Em

Leave a comment